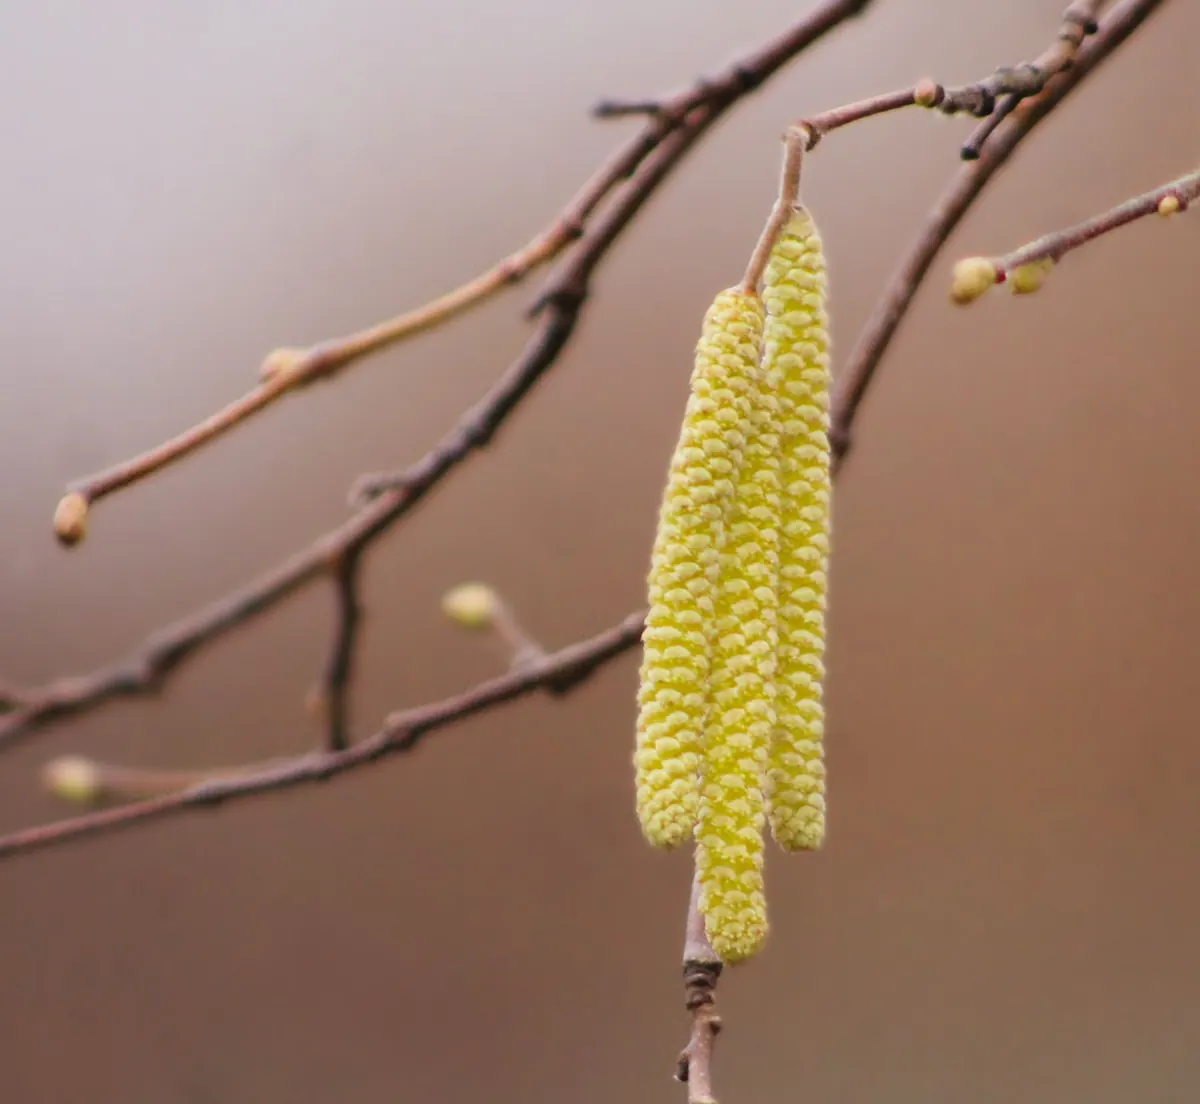
Making a Simple Hazel Walking Stick: A Beginner's Craft Guide
There comes a point on a winter walk when a length of hedge wood in your hand stops being a stick and starts being useful. Hazel gets you there faster than almost anything else in a European hedgerow: straight, light, tough, and forgiving enough that even a first attempt is worth carrying. This is the simple version of the craft — one stem, a saw, a knife, some sandpaper, a little oil, and a few weeks of waiting that you hardly notice.
Why Hazel Works So Well
Hazel has been cut and used for centuries because it grows the way we need it to. Left alone it becomes a multi-stemmed shrub, and when it is coppiced — cut back near the ground on a rotation — it throws up long, clean rods that grow fast and straight towards the light. Those rods are the raw material for hurdles, bean poles, chair legs and walking sticks.
The wood itself is the reason it suits a stick. It is light for its strength, it flexes under load rather than snapping, and it works beautifully with hand tools while still green. A thumb-thick hazel rod weighs very little but will take your weight on a downhill stretch without complaint. It also has a pleasant, plain grain and a warm honey colour once it is oiled, which is more than can be said for a lot of shop-bought sticks.
Choosing the Right Stem
Look for hazel in hedgerows, woodland edges and old coppice. The best sticks come from stems that have grown with a bit of light and air around them: they are firm and dense. A stem that has been crowded in deep shade grows tall and fast but stays soft and pithy, and it will feel spongy in the hand.
What to look for
- Straightness: a gentle sweep is fine, even welcome for the handle. Sharp kinks will always feel like kinks.
- Thickness: roughly thumb-sized at the base, tapering naturally towards the top. Too thin feels whippy; too thick becomes a burden on a long walk.
- Clear wood: no rot, no soft patches, no old cankers, no dead side branches still attached.
- Few side shoots: every one you cut leaves a small scar. A stem with half a dozen is easy to tidy; one with thirty is tedious.
- Sound bark: smooth and tight, without long splits or grey, lifting patches.
Before you cut anything, be sure you are allowed to. Hedgerows are often protected, and a coppice stool is a long-term investment for whoever manages it. Take one or two stems from a stool at most, never the whole thing, and only with the landowner's permission. If you are in any doubt, a garden hazel or a friend's overgrown boundary will do just as well.
Cutting It Cleanly
A folding saw is the right tool here — a pruning saw with Japanese teeth cuts hazel in a few strokes and leaves a flat kerf. Loppers or secateurs deal with side branches, and a sharp fixed-blade knife handles the finer trimming later. Gloves are sensible; hazel bark is slippery when wet and saws do not distinguish between wood and knuckle.
Cut the stem a good hand's width above ground level, and angle the cut slightly so water runs off the stub rather than sitting in it. Do not cut flush to the stool. That stub is the bud zone the plant will regrow from, and a flush cut is a wound right where the new shoots need to emerge. On thicker stems, make a small undercut on the underside first, then saw down to meet it. That prevents the bark tearing away in a long strip as the stem falls.
Once it is down, cut the top to a workable length — somewhere between chest and shoulder height is a sensible start, since you can always shorten it later but never lengthen it.
Trimming and Seasoning
Back home, take off every side shoot flush with the surface of the rod. Do not leave little pegs. They look untidy, they catch on clothing, they hold moisture against the wood, and once dry they harden into small spikes.
Then decide what to do about bark. Leaving it on gives a rustic stick, and as the wood dries the bark usually tightens. If it starts to lift and flake, though, strip it — a bark-on stick with loose flaps is a nuisance in the hand. Early spring is the easiest time to peel hazel, when the sap is rising and the bark slips off in long ribbons; a blunt knife and your thumbs are enough.
Now the part most beginners skip. Do not finish a green stick. Freshly cut hazel is full of water, and as it dries it shrinks and shifts, sometimes cracking along the length and almost always loosening anything you have fitted to the ends. Bundle the stick loosely with others, lay it flat and horizontal in a shed or garage with airflow around it, and leave it. Thin stems need a few weeks; a proper thumb-thick walking stick wants two to three months. It will probably straighten a little as it dries, which is usually an improvement.
Finishing the Stick
Shaping the handle
Trim the top to a comfortable rounded knob, leaving enough material above your grip that your hand cannot slide off. Find where your palm naturally sits, then carve or sand the area below it into a gentle taper. Work through coarse, medium and fine abrasives, always along the grain, and round the very top so it does not dig into your palm on a long climb.
Getting the length right
Stand in your walking boots and hold the stick upright with the tip on the floor. For level woodland walking, the top should reach roughly the crease of your wrist, or a little above. If you plan to use it mainly on slopes, add an inch or two. Cut the bottom last, once everything else is done, and take it slowly — an inch at a time, testing between cuts.
The tip
Bare hazel will wear quickly on tarmac and stone and may eventually split. A rubber crutch ferrule pushed over the trimmed end is quiet, cheap and kind to paths. For something more durable, fit a metal or hardwood tip, drilling a small pilot hole and gluing it in place. Do this only after the wood has seasoned, or it will work loose as the stick shrinks.
Oil
Boiled linseed oil, or a mix of linseed oil and beeswax, feeds the wood and keeps moisture out. Warm the oil gently, wipe on a thin coat, leave it half an hour, then rub off the surplus. Three coats over three days gives a soft sheen and a honey-coloured finish that deepens with handling. Avoid thick varnish: it flakes at the first knock and traps damp underneath. Note that linseed-soaked rags can heat up and ignite if left crumpled in a heap, so spread them out flat to dry or soak them in water before binning.
A Stick Worth the Afternoon
The actual making of a hazel stick is a couple of hours' work. The waiting is what turns it into something good, and the waiting takes care of itself if you tuck the stick somewhere dry and forget about it for a season.
Once it is finished, look after it. Store it upright in a corner or hanging from the knob rather than leaning on the tip, dry it off after wet walks, and give it a fresh coat of oil once or twice a year. Check the ferrule now and then and replace it before it wears through to wood. Do that, and a hedgerow offcut will last you years of quiet woodland miles, and feel better in the hand than anything you could have bought. If you use a stick because of balance or joint trouble, it is worth asking a physiotherapist to check the height and technique — a well-made stick used at the wrong length is only half doing its job.
Photo: Gosia K / Pexels
How to Season Fallen Wood for Simple Woodland Crafts
A fallen branch can become a spoon, a hook or a walking stick, but only if it dries slowly and properly....
Autumn Leaf Litter: A Field Guide to What It Tells You
What fallen leaves reveal about tree species, soil moisture, fungal decay and the turning season — plus a...